
Introduction
Hello, Acokumi here! Today, I want to share the process of a first-time gray blending highlight color session for a client transitioning from a single-process ginger brown color to a more natural, low-maintenance look.
Since this was her first gray blending session, my main focus was to lighten the brown areas while ensuring a seamless blend with her natural gray.
The Gray Blending Process & Technique
For this first session, I used the following approach:
✅ Focused on Lightening the Brown Sections
- The priority was to gradually lighten the mid-lengths and ends to create a smoother transition over time.
- Highlights were placed strategically to soften the contrast between her previous color and gray roots.
✅ Controlled Bleaching for Minimal Damage
- Since this session took 4 hours, I carefully adjusted the strength of the bleach over time to minimize damage while achieving an even lift.
- Olaplex No.1 was mixed into the bleach to protect the hair and maintain strength.
✅ Custom-Toned Color for a Balanced Finish
- Different toners were applied to the roots, mid-lengths, and ends to create a harmonious blend.
- Since the client preferred a warmer tone, I customized the toner to avoid an overly cool or ashy result.
Future Touch-Ups & Next Steps
Since this was just the first step in her gray blending journey, we discussed two possible approaches for future sessions:
➡️ Option 1: Only touch up the highlights to continue gradually lightening the hair while trimming the ends over time.
➡️ Option 2: Blend in more highlights and lowlights at the roots to enhance the natural gray effect and reduce contrast even further.
The best part about gray blending highlights is that it’s a customizable, progressive process—we can adjust the technique based on the client’s preferences for the next appointment!
Before & After Transformation
📸 Before:
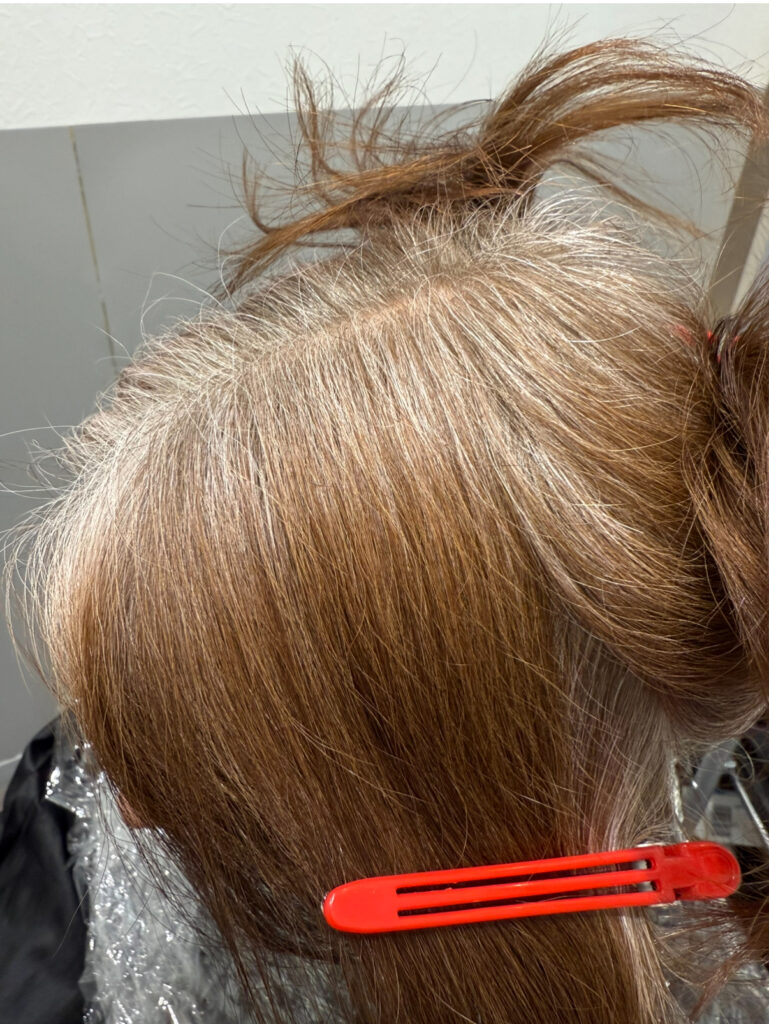
- 3 cm of gray root regrowth
- Single-process ginger brown color with a strong contrast at the roots
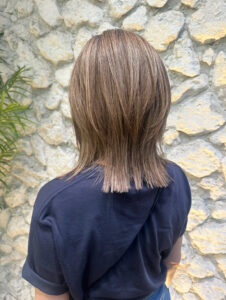
📸 After:
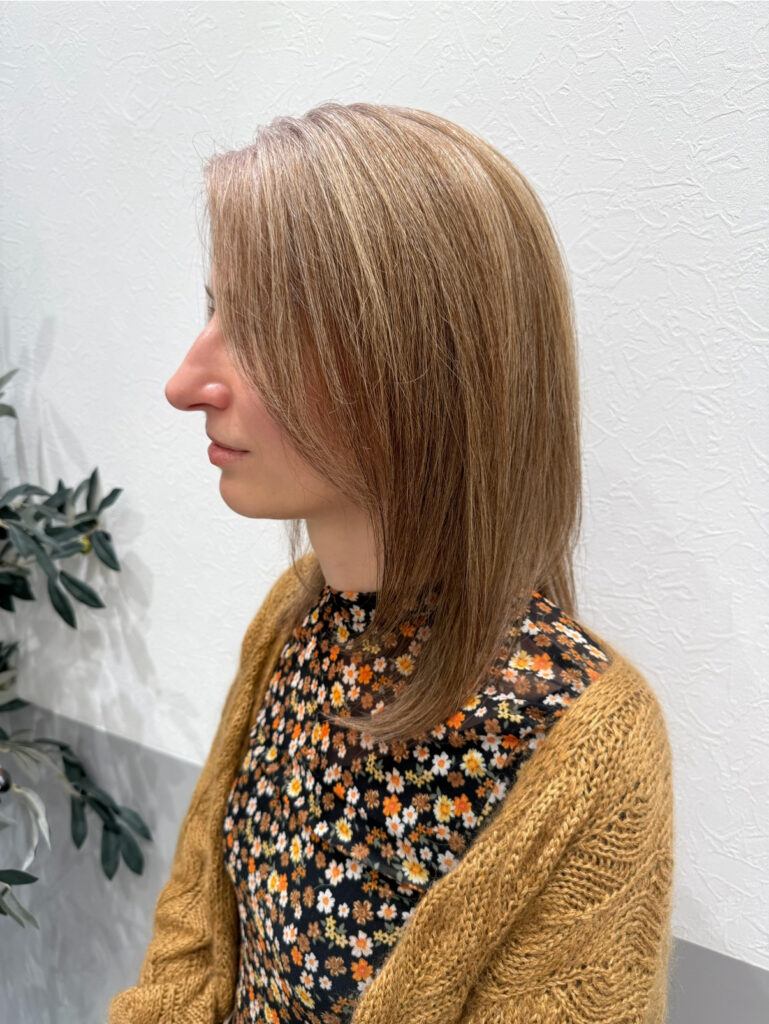
- Softer, dimensional highlights that blend seamlessly with the natural gray
- A lighter overall look that will continue improving over future sessions
This transformation ensures that as the gray grows in, it will blend effortlessly with the highlights, reducing the need for frequent touch-ups.
Why Try Gray Blending Highlights?
💡 Gradual transition to lighter hair – No need for full bleaching in one session.
💡 More natural, soft look – Avoids the harsh contrast of single-process dye.
💡 Customizable approach – Clients can choose between more highlights or a mix of highlights & lowlights for future touch-ups.
💡 Low-maintenance – Recommended touch-ups every 3 months, instead of every 4-6 weeks.
Thinking About Gray Blending for the First Time? Contact Me!
If you’re in Tokyo and looking for an English-speaking hairstylist specializing in gray blending highlights, feel free to reach out!
📩 DM me on Instagram for consultations & appointments!
🔗 Follow me on Instagram


コメント